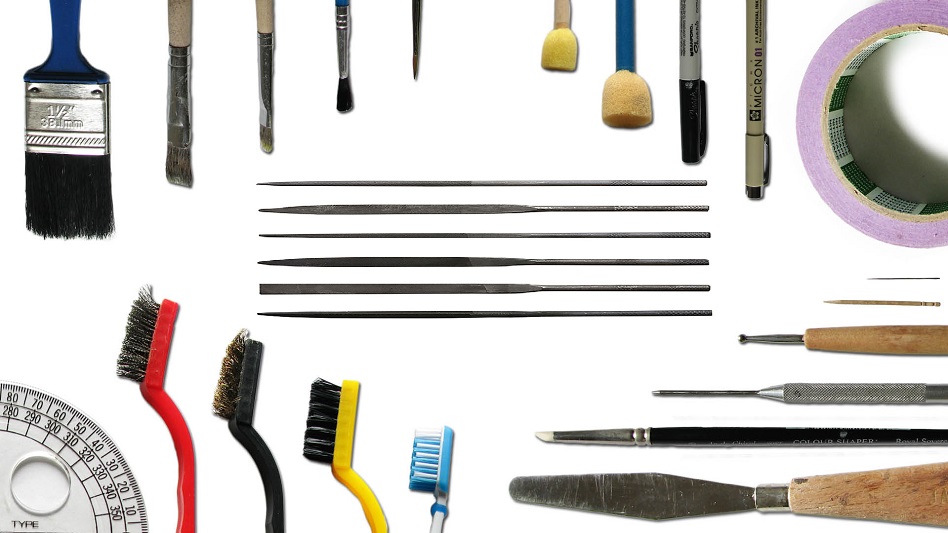
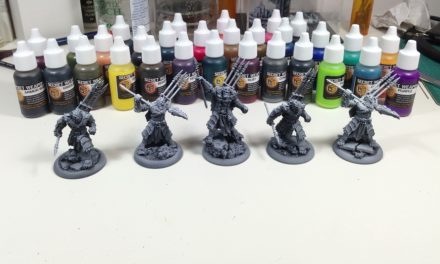
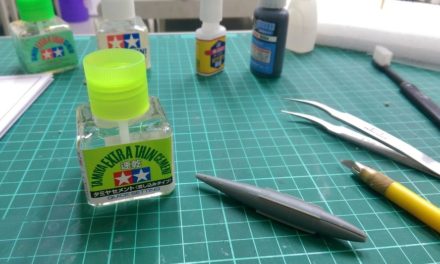
We’re going to talk about tools. Some of you may be asking: Tools? What do tools have to do with painting miniatures? Ignoring the fact that they are extremely useful in custom modifications, to paint well you need a good clean surface to paint on. In this article I’m going to delve into the collection of tools most of us use to make that happen.
Hopefully I’ll be introducing you to some new items that you may not have heard of before. I’ll be showing you what they are giving you some suggestions on how to use them. I personally, have a very hefty tool collection for working on miniatures. I don’t expect that too may people will go as far as I do with their tools, but I want you to know what’s out there.
Maybe you’ll see something here that will help take your projects to the next step. I’ll caution you now, I’m a bit of a tool buff, and my tool collection is pretty extensive and expensive, but any hobby is both an investment of time and money, and if spending some money saves you some time, then in my opinion it is money well spent. Hopefully my investment will help you to find tools that will help you enjoy your modeling experience that much more.
Safety First
I have a few rules though that I really want to instill in our readers before we get too far. Some of these are obvious, some are not. Be safe! Tools, especially power tools, can be dangerous. These aren’t 2×4’s that we’re working with here, and if you’re off by a 1/8th of an inch, your hands are going to bear the brunt of it. You’ll find this out very quickly when you start using carbide-cutting bits; one slight mishap will send you running to the first aid kit.
Always wear safety goggles when using power tools. Micro drill bits snap easy, sanding discs toss out nasty dust, and carbide bits vomit out lots of sharp metal chaff. You don’t want this getting in your eyes or lungs for that matter. Don’t go cheap either, buy quality. If you have crappy safety goggles out of the 1970’s, complete with a rotting elastic band, and scratched lenses are you really all that safe?
You’ll find excuses to wind up not using them because either they are uncomfortable or you won’t be able to see your work surface and you’ll make mistakes that will mar your minis or your fingers. So as much as I love my other tools the MOST important one in my collection is my safety goggles. That’s why I’m listing it under rules, not tools.
Tools of the Trade
Use the right tool for the job. Any hobby is an investment of time, money and love. You don’t want to be wasting time on correcting problems caused by using the wrong tool. You don’t want to be wasting money on irreparable figures, and finally you don’t want to start hating your hobby because you are frustrated with mistakes that have cost you both time and money. Invest in your tool collection and you will find that you will begin to enjoy your hobby even more, besides, no one ever regrets purchasing high quality tools that last forever.
Dremel (rotary tool)
No doubt, anyone that owns one has certainly developed a love affair with the dremel. It is a powerful, versatile, durable, and a workhorse of a tool. It makes hard jobs easy and can handle delicate jobs with grace. The fact that it can crucify a figure, your fingers or remove large tufts of hair if you’re not careful should not be held against it.
I recommend the multi speed plug-in variety. I have two, one with a snake (flexi-shaft) and one without. Read your manuals and precautions when using the snake, over flexing it can cause your Dremel to overheat. When using the rotary tool I suggest sticking to the lower speeds. Lower speeds allow for more control. 6000 rpm’s is really all that pewter needs. Not to mention the faster you go, the more likely you are to make a damaging mistake.
Faster speeds also heat up your figure. This calls for longer breaks for cool down, and can make the metal act unpredictably. Pewter can also “flash heat”. By this I mean it can go from warm to burning your fingers in a fraction of a second. Low speeds reduce this problem. (I’d like to note that you SHOULD NOT use a Dremel for drilling. The rpm’s go above and beyond what should be used for drilling to the extent of it being a safety concern. Use the right tool for the right job, remember? More on drilling detail later.)
Dremel Bits
The real power of a dremel is not really in its rpm’s but the sheer number of bits that are available. Let’s just say there are a lot of bits. I have a catalog that has 6 pages dedicated to the Dremel and 4 of those pages are just bits! You can buy nice collections of Dremel bits, or you can buy them one by one. Either way, it can get expensive quick so plan your purchases based on need. In my case it breaks down into 2 categories: cleaning, and modifying.
CLEANING BITS
These bits are helpful in removing minor to medium flash and other casting defects. These are the bits that restore your figure to that “factory showroom” state, and helps you prep for priming. The most important bits should come with most basic dremel kits. This is the mandrel and the sanding disk.
Sanding disks are fantastic because they come in multiple grits, are interchangeable, flexible, disposable and CHEAP! This little wonder spends 90% of its time in my Dremel. I use it constantly. I suggest a minimum of 2. Set one in the standard sand side down configuration and one in the sand side up configuration. The sand side up is used far less frequently, but is very helpful for getting into areas where the tool or the flex-shaft gets in the way.
I use a large assortment of other cleaning bits, all have their uses, but I’ll warn you…the diamond sanders are not very forgiving. Use them when you have stubborn miscasts or need to remove a big chunk of metal. Practice with them. They do take a little while to learn. Most times you will need to clean up your work with files or the sanding disk.
MODIFYING BITS
Modifying bits are those I reserve for big time modifications to figures. You use these to remove large quantities of metal or for boring deep holes in things like cannons. These are the situations where the carbide cutters come out to play.
Carbide steel is insanely sharp and very durable, so if you’re only working with pewter, these should last a while. That being said however, these can be expensive (depending on where you buy them) and VERY unforgiving. They take a lot of practice to use, and should really be used at low speeds.
The main problem them is that they “skip”. This is hard to explain, but you’ll know it the second it happens. Basically the bit will jump up and since you are still applying pressure will come back down and zip around the piece you are working on. Many a soldier has lost his nose this way.
It sloughs away metal with ease, but it does worse things to flesh. I really cannot emphasize how much you should practice with these before tackling that “perfect” conversion. Carbide-cutters are a valuable addition to your stable of tools, but if you aren’t going to be big into conversions, ignore these bits for now.
Power Drill
Sometimes you need less speed and more torque. The standard rotary tool goes from 6000 to 30000 rpm’s. Dremels can be overkill sometimes you are only going to need 20-60 rpm. Dremels also don’t let you do a split second stop without purchasing additional attachments.
I suggest a good, adjustable speed trigger, power drill. Despite the weight that a full power drill has, you can still exert of control over it. In my case I use a 12 volt Black and Decker. When loaded up with 1/8th inch shank micro drill bits, I can quickly drill out all the barrels of my long gunners with ease. You can also load it up with a 1/16th inch bit for the pinning of arms and legs to jacks.
You can get smaller drills for miniatures alone, but make sure it has a variable speed trigger. A variable speed trigger will let you start up slow and then increase the speed after you have found a good position for the bit. Nothing is worse than drilling off half the barrel because your drill went too fast. Pin vises make this easier, but wants to do not do 20 long gunners by hand. Get a power drill.
Micro Drill Bits
Most of you guys already know all about them. These are the small drill bits you get for pin vises. But you can also get them with 1/8th inch shanks for use in dremels and power drills. If you’re like me and have a lot of figs to do, get the thick-shanked ones but go slow, carbon steel is brittle, and these break really easily. I’m about to get a new set, as I’ve pretty much destroyed all the ones in my collection.
Pin Vise
You all know what this is so I’m not going to go in to much detail. If you don’t have one in your collection, go get one.. now. This tool is for those hand-drilling jobs that need a careful touch. The downside is, this is murder on you hands If you have more than a small amount to drill.
Needle Files
Another staple. You can get these at hobby stores and hardware stores everywhere. They are a cheap and much needed tool. I cannot imagine a mini gamer with out them, so I’m going to gloss over this little section. What you do need to know is that the most valuable files are the round, half-round, square, and standard flat file.
The round is the best for tight spots and round surfaces. Since the round doesn’t have a flat edge it’s hard for it to leave a flat mark, it just sort of glides over the surface. The flat is great for armor plates or sharpening edges of swords. The half round is just a good general file, and can be used for both round and flat surfaces. The square is good for getting in tight spots that still need a flat surface.
Riffler File
What the hell a riffler? Riffler is just a fancy name for an angled needle file. They have all the same shapes as your standard needle files and quite a few more. Rifflers are those tools that you never knew how essential they are until you start using them. If you ever ran into a tight spot that you just couldn’t seem to file, the riffler is the tool you needed. On the right are standard steel rifflers and on the left are diamond rifflers. What isn’t apparent from the pictures is that the 3 hooked diamond rifflers are actually a square, a round, and a half-round. That bizarre round one is great for filing around rivets and spikes.
Pliers
This is somewhat self-explanatory. Have some pliers on hand. You will need them. I use a set of small needle nose pliers and a set of angled needle nose pliers. More often than not, this is enough for all of my pliers needs. One of the best uses for them is to bend the basing tab to get a tight fit. This lets you position the figure with a tight fit prior to applying glue.
Angle Cutters
If you have ever worked with sprue-based plastic models then you should have a set of angle cutters. You can get them at any craft or hobby store for about 6-8 bucks. Nicer sets can be had for 20 or more, but that is a bit overkill. These are great for removing large quantities of pewter and cutting brass rod. I tend to be pretty aggressive with mine, and use them to chop off everything from heads to hands. The less you have to do with power tools, the better off you will be, so prep the area as much as you can with the angle cutters.
Wire Cutters
You also will want a good set of wire cutters. Angle cutters are sharper, but easily damaged when going up against harder metals, and are positively useless on metals like steel. Back up your angle cutters with a decent set of wire cutters. If you aren’t sure which to use, go with the wire cutters. Better to err on the side of caution.
Wire Benders
These are expensive (40.00 for the set of 4) for doing little niche type projects. So if you don’t see the need for these. Then obviously save the money. I decided to add these to my collection after my talon conversion. I wanted to make a perfectly round tow hook for the left shoulder. It came out OK, but perfectly round it was not. In the future I wanted more accuracy, so I snagged these. Use the right tool, for the right job. I have plenty of other projects in mind for these, so don’t think I got them just for tow hooks.
Jeweler’s Saw
You’ve all seen razor or jeweler’s saws, but maybe you haven’t seen what they can do. These fiddly little saws are fantastic for removing arms from bodies, chests from waists and perfect for all sorts of terrain projects. If you don’t have one of these saws, go out and get one! (Don’t forget to get a miter box to go with it for terrain). Razor saws are much finer and more accurate than any power tool when it comes to handling delicate amputations.
There is no way to avoid the loss of some material, but razor saws are usually thin enough to minimize this loss and reduces the amount you need to rebuild. Razor saws are great for re-positioning jack arms and removing legs. The downside is that it takes a pretty decent amount of time to hack through a quarter inch of metal, so patience is a virtue when using the razor saw.
Sanding Floss
This is an odd little accessory I found when perusing a tool catalog. At 13 dollars a roll, I was a little wary to pick it up, but took the risk and was surprised at how well it works. Truth be told, this is a handy little trinket to have. This is good for getting in around shoulder pads and necklines.
Anyone who has had to file down a Mechanithrall or Bile Thrall leader has probably seen the need for sanding floss. It comes in two grits for the floss but only one grit for the tape. I have only used the 120 grit floss, so you’re on your own for how well the other two work. Downside is that it doesn’t last very long. Upside is, you won’t use it that much and when you do, you won’t need more than a few inches at a time. Since you really need two hands to use it, you really need a vise.
PanaVise
Ok this is an overkill tool, but as you can probably tell, just like WARMACHINE, I’m all about overkill. So what is a PanaVise? This is just a vise with a panoramic head. The nice thing about a PanaVise is how utterly pose-able the head is. I can really put this thing anywhere.
This lets you saw or grind at almost any angle. It’s not the cheapest vise by a long shot, but I totally dig the full motion it grants me. Save 25 bucks and get a normal one if this doesn’t do anything for you. If it’s not right for you, skip it. I would rather you only buy the tools you need.
Hand Vise
Oddly this handy little tool is more expensive than a real standard vise. I have no idea why since it’s little more than a glorified pin vise/x-acto knife with a micro vise head. However it is actually quite handy. If you only need one hand to work with, then this does a great job of holding onto miniatures without a base. Just tighten the vise down on the tab and you have an instant grip that keeps you from touching the figure. I like to use it when I am sculpting as it keeps my thumbs from messing up my work.
Green Stuff
Almost all of you have heard the term, but some of you still haven’t used this particular piece of sticky frustration. Green Stuff is a two-part epoxy filler that can be used for multiple applications. Most often it is used for repairs and re-sculpting on our miniatures. I don’t want to go into too much detail here, as I’m sure we’ll be covering it in more depth later, but I did want to point out the following. Green Stuff comes in 2 forms: Tape and Tube. If you aren’t going to be using GS all that often get the tube! The tape form cures on itself over time, so if you don’t use it right away you’ll be throwing out about half your spool of tape.
Endnote…
So that’s it! Tools! I’m sure there are other things I need to add or I find something else I never knew I needed, so consider this a living document. As I find new tools, I’ll fill you in. If I’ve highlighted something here that you want more information on, or if I’ve pointed out something that has really helped you, let me know! Likewise, if something’s missing from my collection clue me in and I’ll add it to my list.


